Table view
The Table view lets you see your invoices in a structured, spreadsheet-style layout.
Last updated 7 months ago
It’s designed for searching, filtering, and reviewing larger numbers of invoices — especially as your records grow over time.
This article explains what you can do in the Table and how to use its tools effectively.

What the Table shows
The Table shows the same invoices as your Board — just in a different format.
Each row represents an invoice, and each column represents a specific piece of information, such as:
Provider
Description
Support category
Support dates
Amounts
You can switch between the Board and the Table at any time.
Searching your invoices
At the top of the Table, you’ll find a search bar.
The search uses partial word matching, which means:
You don’t need to type the full word
Any matching text will be included in the results
You can search by:
Provider name
Support description
Support category
Or any other visible text in the table
This makes it easy to quickly find what you’re looking for.
Filtering your invoices
The Table includes filters to help narrow down results.

Filter by support date
You can filter invoices by support date using a start and end date range.
This is useful when reviewing:
A specific claim period
A date range for reporting or auditing
Filter by support category
You can also filter by support category.
Multiple support categories can be selected at once
Only invoices matching the selected categories will appear
Filters can be combined with search to further refine results.
Sorting columns
Each column can be sorted.
When you hover over a column title, you’ll see a sort icon that lets you:
Sort ascending
Sort descending

Sorting helps when comparing values or reviewing invoices in a specific order.
Column options and managing columns
When you hover over a column title, you’ll also see a three-dot menu.

This menu includes options such as:
Hide column
Manage columns
Managing columns
Selecting Manage columns opens a dialog where you can:
Show or hide specific columns
Customise which information is visible in the Table
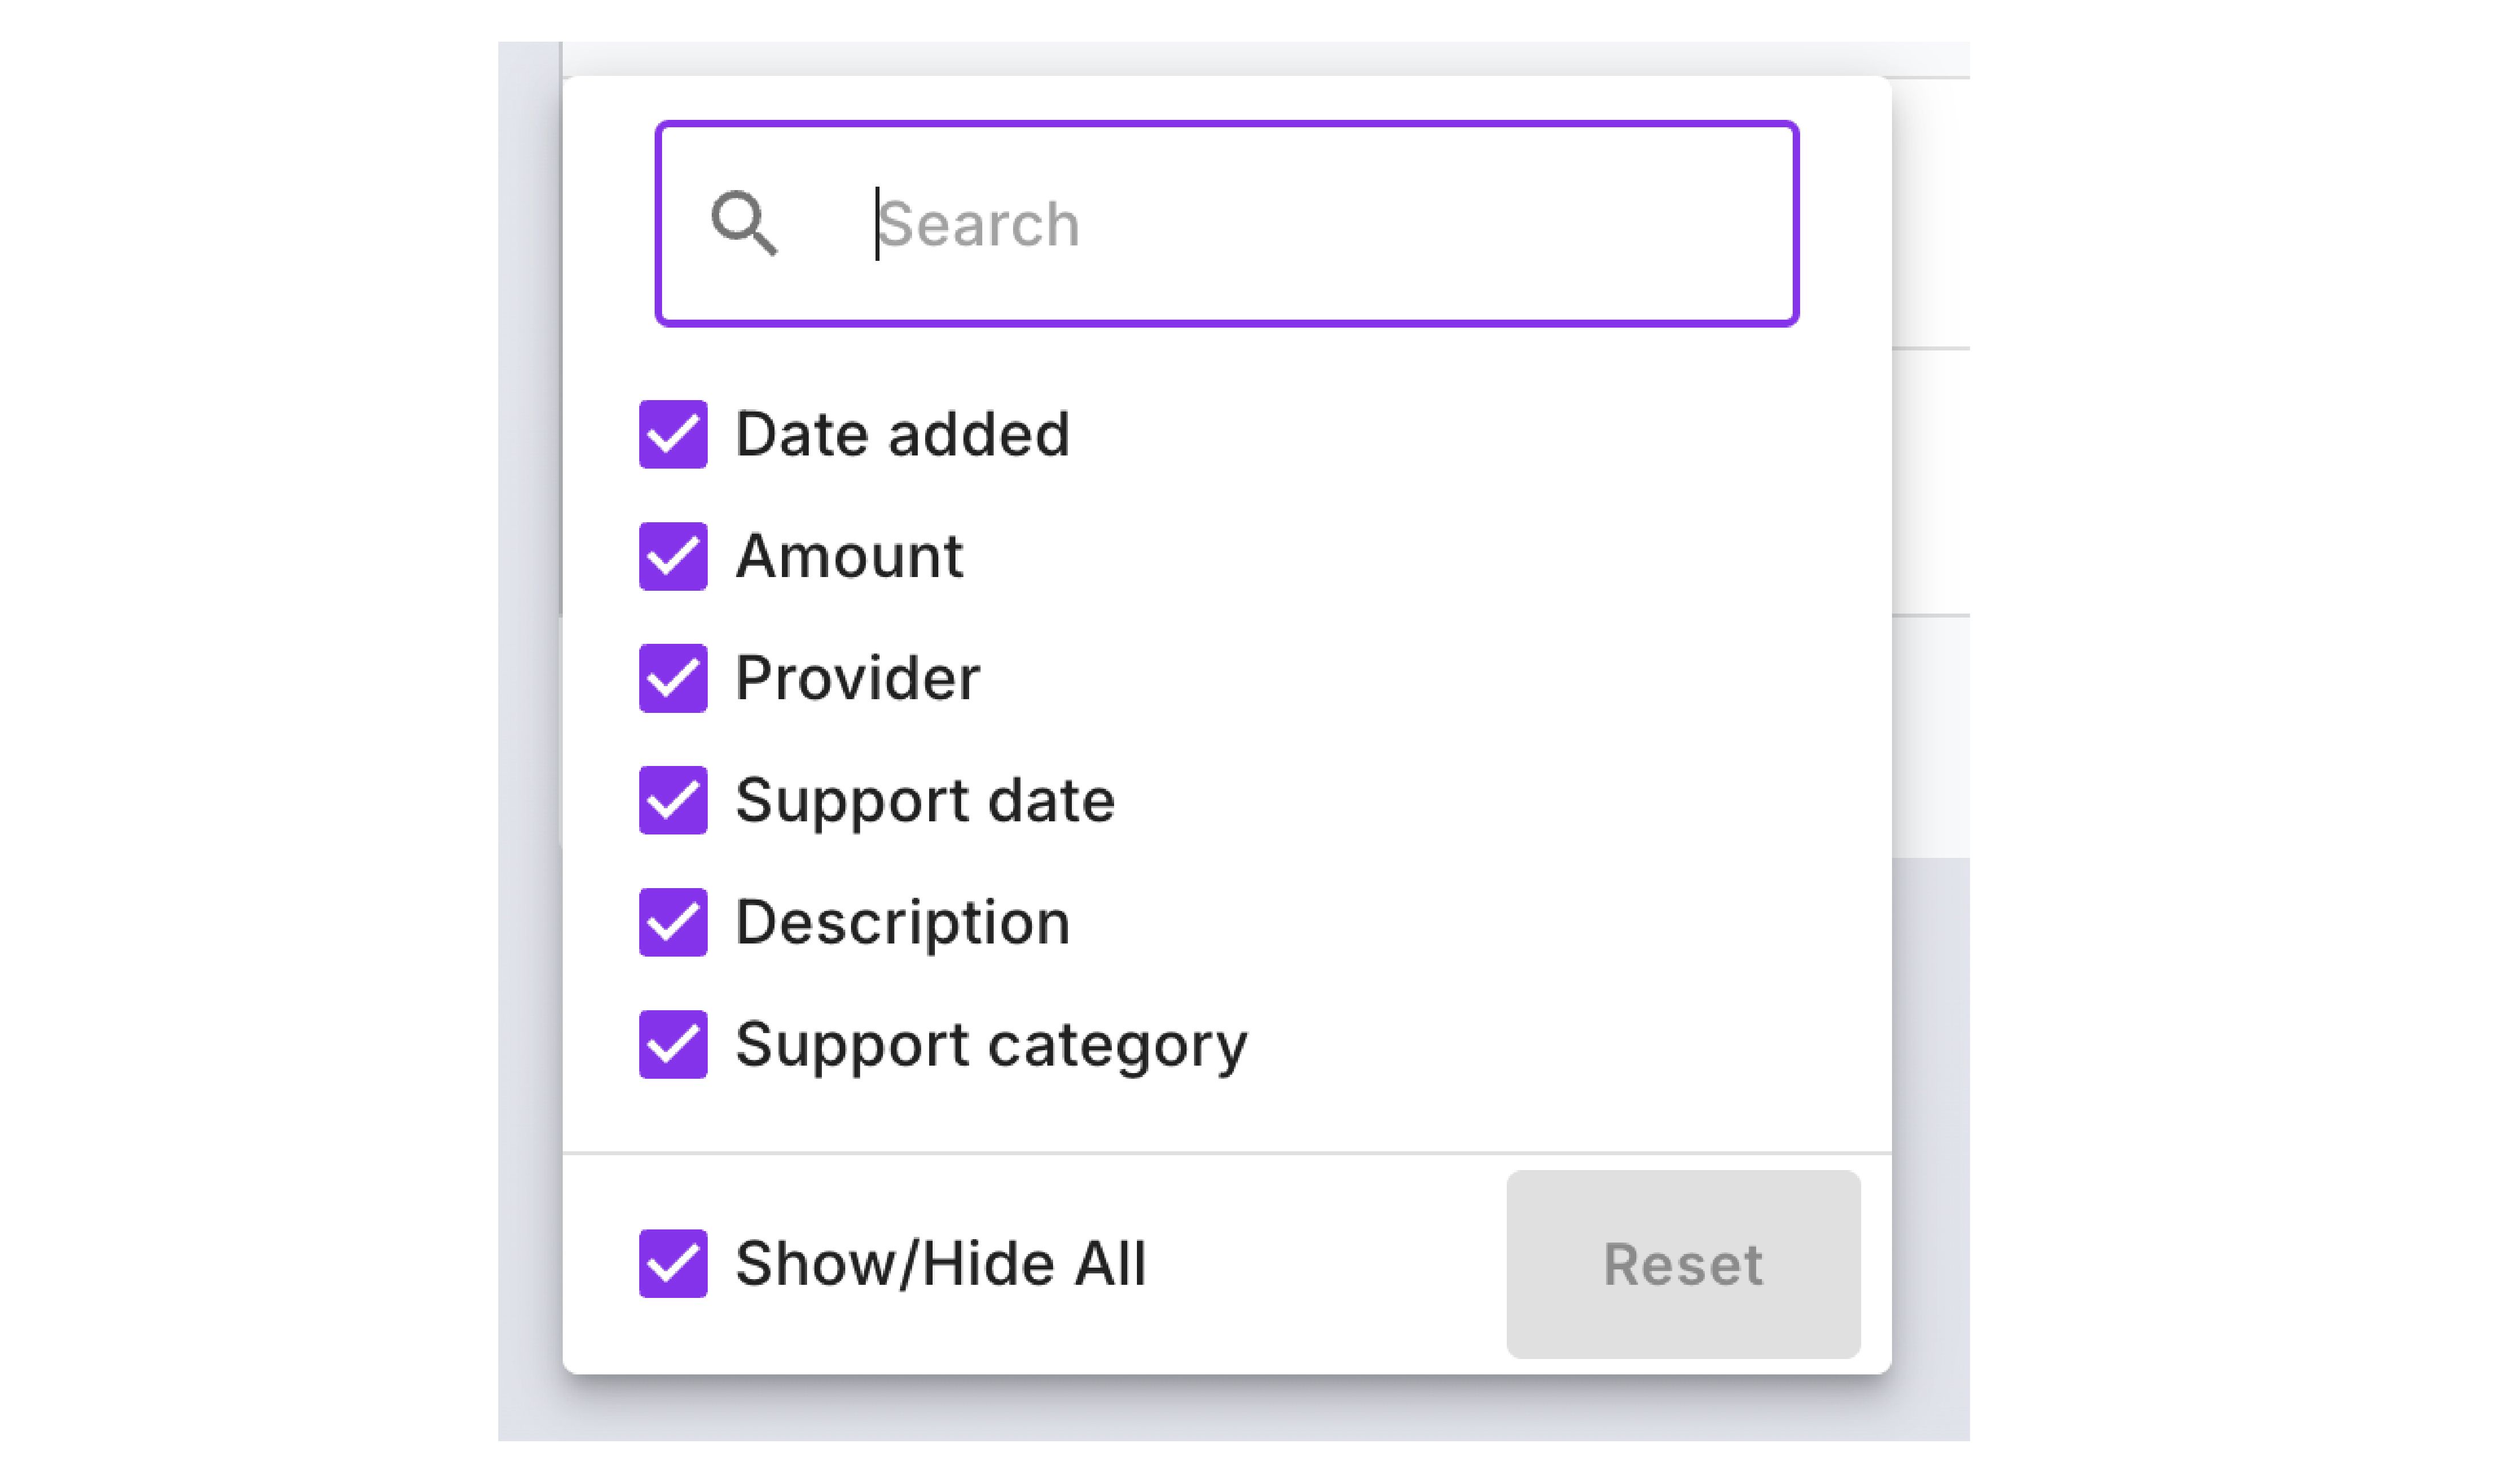
This allows you to tailor the Table to what matters most to you.
Good to know:
↪️ Column visibility settings automatically reset once you leave the page.
List density
You can adjust the density of the Table to control how compact the rows appear.
This is helpful if you prefer:
A more spacious view with larger rows, or
A denser view to see more invoices at once
Exporting to CSV
You can export the Table to a CSV file at any time.
This allows you to:
Download your invoice data
Open it in spreadsheet software
Keep your own offline records if needed
The export reflects the data currently visible in the Table.
When to use the Table vs the Board
Use the Board for day-to-day workflow and tracking progress
Use the Table for searching, filtering, reviewing, and reporting
Both views work together — you can switch between them depending on what you need to do.
That’s the Table view!
If you understand how to:
Search and filter
Sort and manage columns
Adjust density and export data
…then you know how to use the Table effectively.
It’s there to support you as your invoices grow — without adding complexity to your daily workflow.